

|
1- Ouvrir l'image que vous voulez utiliser. 2- Dupliquez-la. 3- Avec l'outil de sélection de votre choix, sélectionnez la section que vous voulez conserver hors du cadre de la photo. 4- Inverser la sélection. |
|
1- Open the picture of your choice. 2- Duplicate it. 3- With the selection tool of your choice, select the area that you want to keep outside the photo. 4- Invert that selection. |
|
|
||
|
5- Supprimer cette section, sur le calque supérieur (ici, j'ai caché le calque inférieur pour une meilleure visibilité). Il n'est pas nécessaire de découper beaucoup plus bas que la hauteur prévue du cadre. |
|
5- Delete that section on the top layer (here I hid the bottom layer for better visibility). You do not have to cut out your subject much more than the height you expect the frame to be. |
|
|
||
|
6- Sur le calque inférieure, sélectionner la partie qui sera totalement retirée de la photo. |
|
6- On the bottom layer, select the area that will be totally deleted from the photo. |
|
|
||
|
7- Supprimer. Vous devriez maintenant avoir un calque avec la taille du "cadre" que vous voudrez, et un calque avec le sujet qui dépasse. 8- Maintenant, sur un nouveau calque, vous pouvez sélectionner la partie qui deviendra un cadre. |
|
7- Delete. You should now have a layer with the size of the frame, and one layer with the subject extending out of the photo. 8- Now, on a new layer, you can select the part that will become a frame. |
|
|
||
|
9- Ajoutez la couleur que vous voulez. |
|
9-Add the colour of your choice. |
|
|
||
|
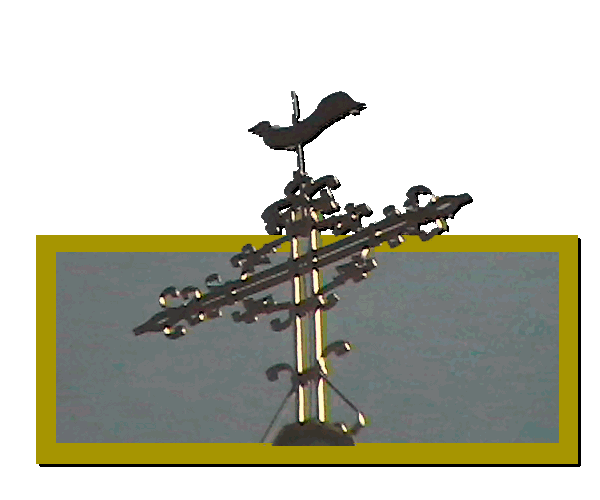
10- Ajouter la texture de votre choix, et vous avez une photo toute particulière maintenant avec un sujet, qui "sort" de l'ordinaire! |
|
10- Add the texture of your choice and you now have a photo with a subject that "stands out"! |
|
|
||

© Creation-Scrapbook 2006 - tous droits réservés